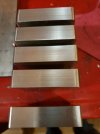
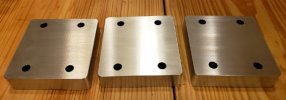
Made a corner radius fixture today

Ian

Notorious member
I'm sure most people don't think much about it when they see a radius milled on the corner of a part made with a manual machine, but it takes some thinking, and a lot of tools to make it happen.

JimE gave me a brand new PM R8 keyless chuck and I'm going to make him some heater bases for his Lyman 45s. One thing that would really make them look clean is rounded corners, but I needed more tools to pull that off. I ended up buying a cheap 4" rotary table from Mao's Emporium and built a jig for it. First I cut a 6" piece of 3/4 x 3" 6061 aluminum and skimmed it flat on the shaper. Then I ground a V-groove tool and used the shaper to make a chevron pattern for eyeballing alignment. Then I turned a bolt into a pin that would pilot in the center hole of the table and center-drilled it, then turned the end to .251" for 3/8" so it would press into a 1/4" reamed hole and stop. After that I set up in the mill vise and drilled/reamed the centering pilot hole, then drilled and countersunk t-bolt holes for mounting to the table, then relieved some work space for the end mill that will be doing the work on the parts. After that I drilled and tapped two holes for clamping studs.
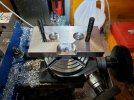
20220303_213732.jpg

The center-drilled pin makes it easy to center the table under the spindle without using an indicator (close 'nuff for me) and also to center the radius off of a hole drilled accurately in the corner of a part if desired. The guide lines make it easy to clamp the part in squarely and evenly by eyeball. I still need to make some side guides for quickly repeating the same setup on multiple corners/partsband also need to find a way to easily get the corner of the part dead-center in line with the jig, but for now, here it is in action!
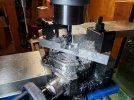
20220303_215352.jpg
 

smokeywolf

Well-Known Member
Fun stuff to do; working out problems like this. Especially since a brand name corner-rounding endmill can run upwards of $100.

I think my answer to locating the part on the fixture would have been to drill 3 or maybe 4 dowel pin holes and press dowel pins in to push the part up against to locate it.
Drill the dowel pin holes all the way through so you can knock them out and use the fixture in a different setup some other day.

Rotary tables really expand your capabilities. While they make drilling bolt circles easy-peasy, I usually use the polar to rectangular function on my calculator to work those out.
 

Ian

Notorious member
Thinking about your dowel pin idea I just had an epiphany: All I need to do is make a few stepped gauge blocks to fit into the tooling relief. The blocks would have a small V-groove milled into them for locating the corner of the part exactly in line with the center of rotation. If I wanted a 1/2" radius, simply make a block that spaces the sharp corner of the part 1/2" past the center of rotation. To install the part, clamp the gauge block in position, butt the corner of the part into the notch, align the part with the scribed guides, and clamp it down. Then all I have to do is remove the block and make the passes with the end mill and feed the X-axis until the radius is complete.
 

smokeywolf

Well-Known Member
Round and pointed location surfaces have the advantage of not accumulating chips and debris so easily as flat surfaces. Can't tell you how many times I've seen a machinist scrap a part after locating against an errant chip that didn't get blown off or wiped off.
 

smokeywolf

Well-Known Member
One thing I want to point out. Ian is working with a small mill, which means much less mass and much less rigidity than a Bridgeport or Bridgeport clone. He is producing surface finishes that are often only achievable with the bigger machines.
 

Bret4207

At the casting bench in the sky. RIP Bret.
Round and pointed location surfaces have the advantage of not accumulating chips and debris so easily as flat surfaces. Can't tell you how many times I've seen a machinist scrap a part after locating against an errant chip that didn't get blown off or wiped off.
I drilled and tapped two rifles not knowing there was a chip of metal behind part of the Forster jig I was using. The customer was not happy.
 

Ian

Notorious member
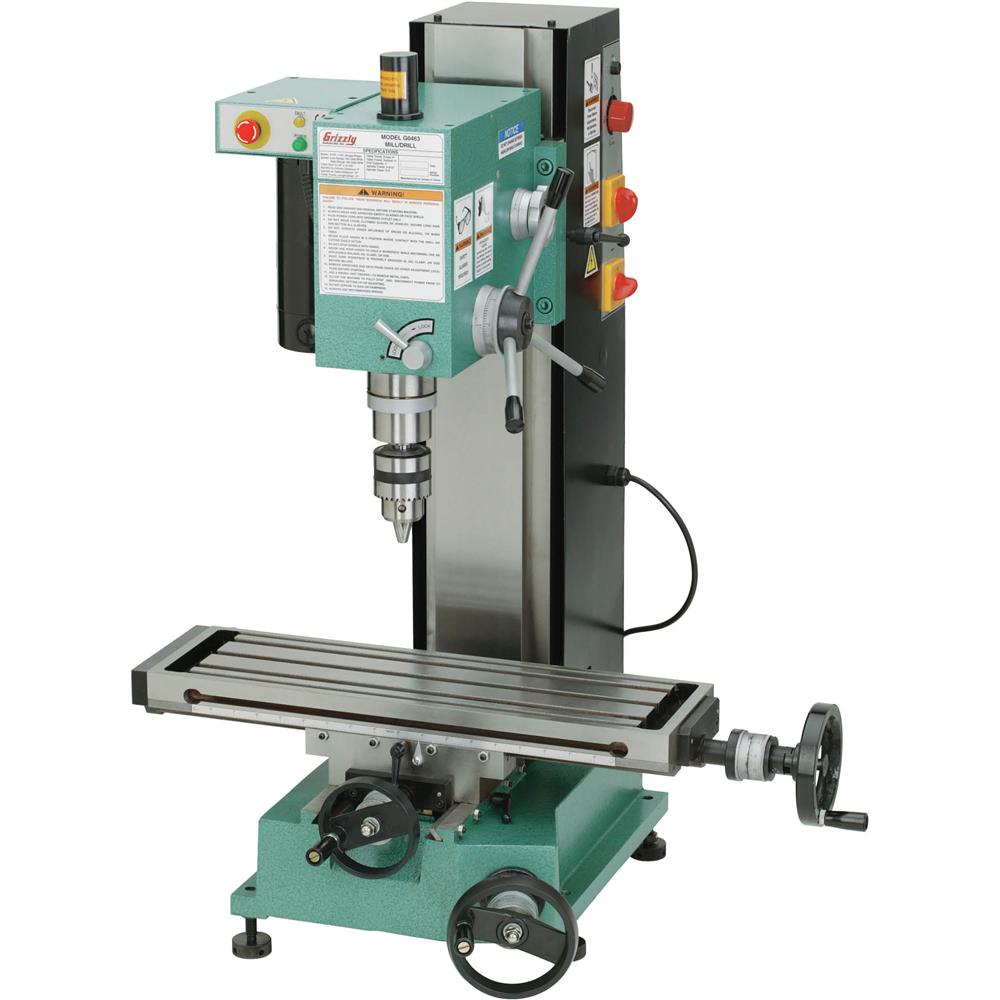
G0463, now discontinued. 3/4 HP 6x22 with 9" of "swing" and almost 15" spindle to table.


Snakeoil

Well-Known Member
Nice work. Jigs and fixtures make life so much easier. The errant chip story is one that probably every machinist out there can say happened to him at some point in his career. Like set-up, you spend more time cleaning and prepping to hold the part than you do actually holding the part.

That's a nice mill. But that's not small. My mill is an old Atlas horizontal with a modern vertical attachment. Your table has 3 T-slots. Mine has ONE!!. I bought a 4 inch Chinese knock-off of a Kurt milling vise with a rotary base. It over hangs the table and I had to mill the front off the vise to get a reasonable amount of Y table travel. I'd have a Bridgeport if I had a place to put it. But I have to say, I've made some nice stuff on that little machine.

The guy that repairs my watches is 82 and has a small machine shop in his basement with carpeted floors. He has the smallest jig-bore I've ever seen. I think the table is about 2 feet long at the max. It's a gorgeous machine. The X and Y dials have vernier scales so you can move in tenths. That's 0.0001 for the non-machinists out there. I'd love to have that machine.
 

Ian

Notorious member
I gave around $2600 for the mill, delivered, with a full table clamp set and 5/8" keyed chuck. I bought the same 4" Kurt knock-off from another source for a lot less than Grizzly wanted for theirs (same thing) and it's been great. I have no idea why they discontinued this model, but it's a shame. I shopped benchtop mills for a few years and then this one came on the scene with a giant fixed column, two speed belt-drive head, and a "knee" crank instead of the goofy and impossible to reach crank on the top rear of the column, so I jumped on it. Glad I did. 3" of quill travel is another huge plus, and it has a tremendous amount of working room for a bench unit. It's bare-bones but convenient to operate and very solid with lots of cast iron where it needs to be. I think Jet has one similar with the knee crank configuration and fixed column but with a much lighter head. Anyway it does good work.

Brad told me to get a keyless chuck and I have to say it's a game-changer when doing five or six operations on the same hole.

I've been playing with the radius this afternoon and I think I made a tool that's smarter than I am...or rather is more difficult to to understand than my understander can quite grasp. Anyway, I finally got it sorted and made one corner the radius I wanted and got it centered (the hard part), so I'm going to clamp some guides down and do the rest of the heater bases without changing set up. Drinking from the fire hose as usual.....
 
Last edited:

Brad

Benevolent Overlord and site owner
Staff member
The keyless Chuck is amazing. I like being able to quickly spot drill, drill, and ream with no grabbing a Chuck key.

Have you tried power tapping? Mine goes down to 60 rpm and taps like a champ.
 

Ian

Notorious member
I'm too chicken to power tap yet, besides I only have a few spiral point taps that R.J. gave me. My mill will go at least that slowly but does it by pulsing the motor and is probably terrible for the brushes under load.

Got the project finished and made two extra for myself. It might get me a C-minus in shop class but looks better than a file job.

20220304_191841.jpg
 

462

California's Central Coast Amid The Insanity
What is the heat source, and how is the heat applied?
 

smokeywolf

Well-Known Member
Very nice finishes.
First go at power tapping should be done on thru holes only. If you ever want to press your luck and power tap blind holes be sure and use helical flute taps. Unless you have a tapping head, go 50-70% deep and finish by hand.