Making a QA/QD Muzzle Brake

L1A1Rocker

Active Member
I took a lot of pics while making my QA/QD muzzle brake but never posted it. Thought I'd go ahead and post it up. This is the brake Ian helped (did) do the parkerizing on that I posted about earlier.

Please forgive some of the perspective angles of the pics. Some of these were done for my benefit so I would know in the future how to reproduce things. (my memory is not what it used to be. I think it may be medication related too)

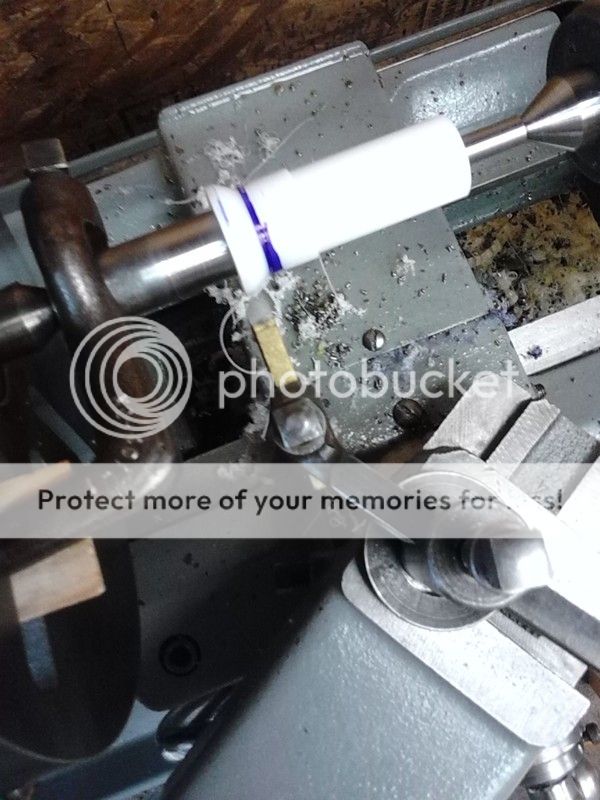
The first step was to make a mandrel, sorry no pics of that. The next step was to do a model out of delrin.

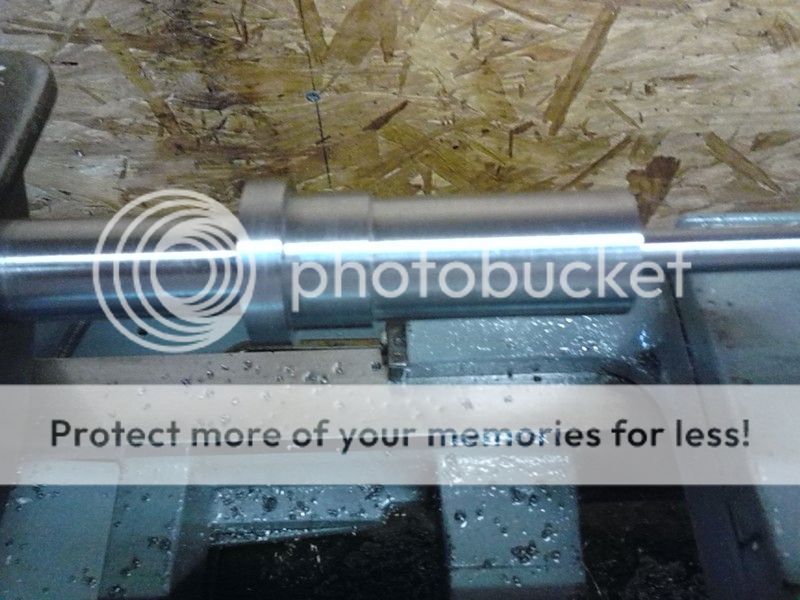
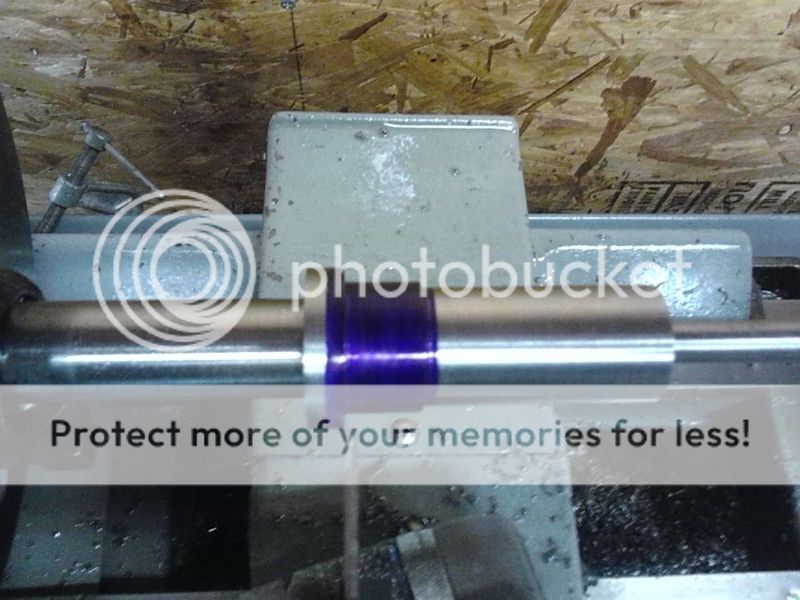
Here I'm cutting the 60* shoulder on the plastic.
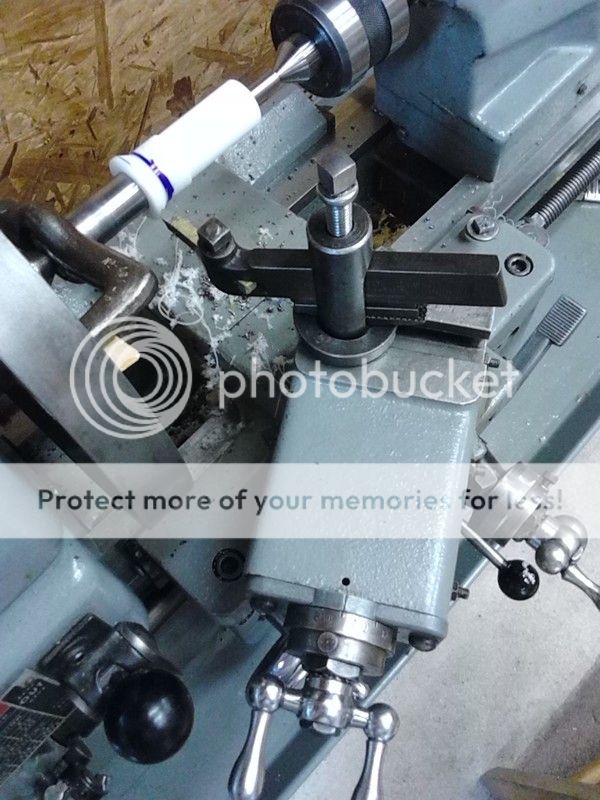


Ok, on to the metal. The first thing to do was to bore a hole through the center and thread it for the muzzle. I start out single point cutting with boring bar and threading tool.
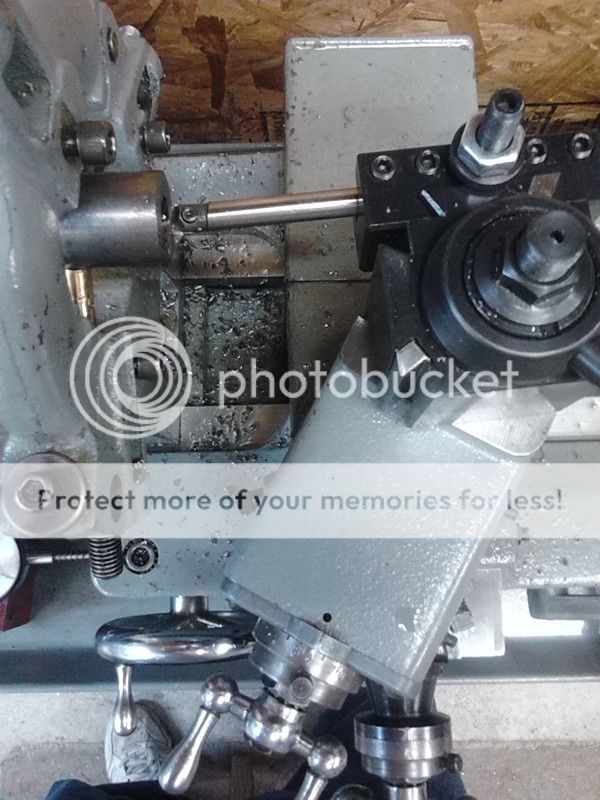
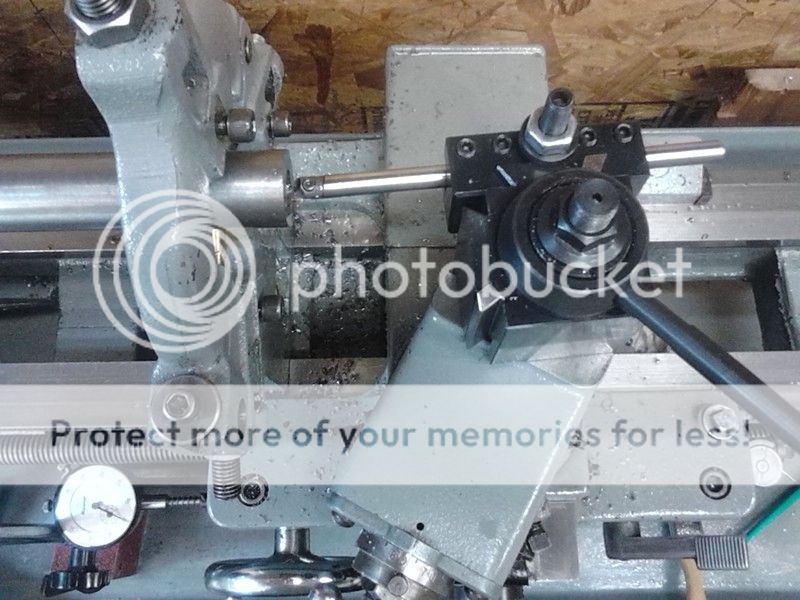


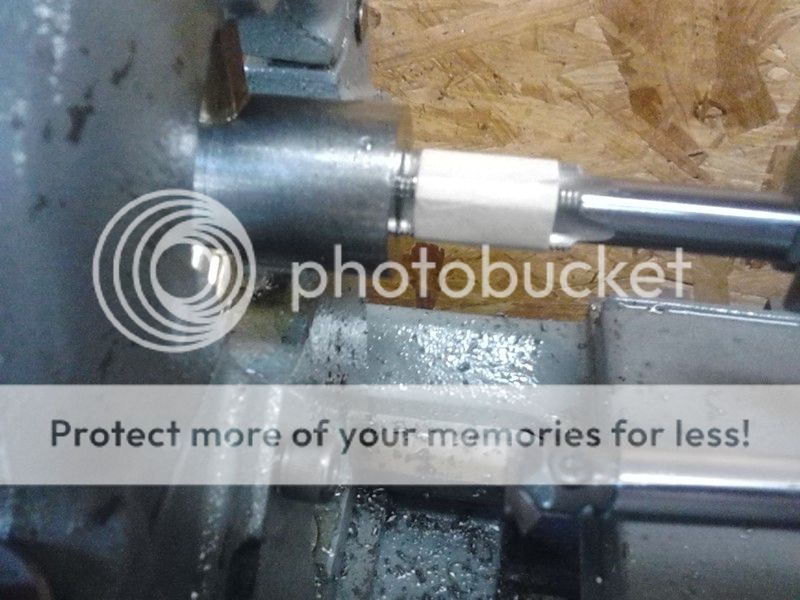
Then I cheat. I use a tap to finish it out. This tap has a 60* hole drilled in the end for a live center to keep everything lined up.
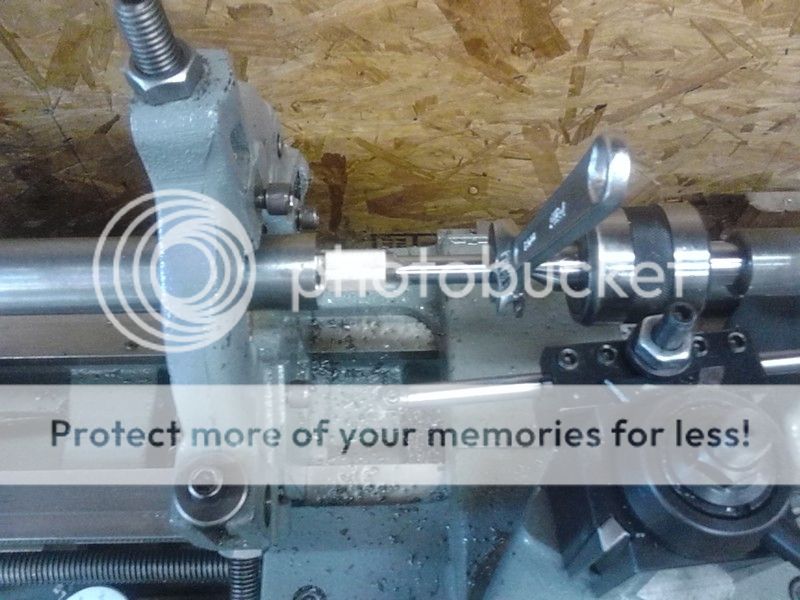


The tape is to let me know where to stop.
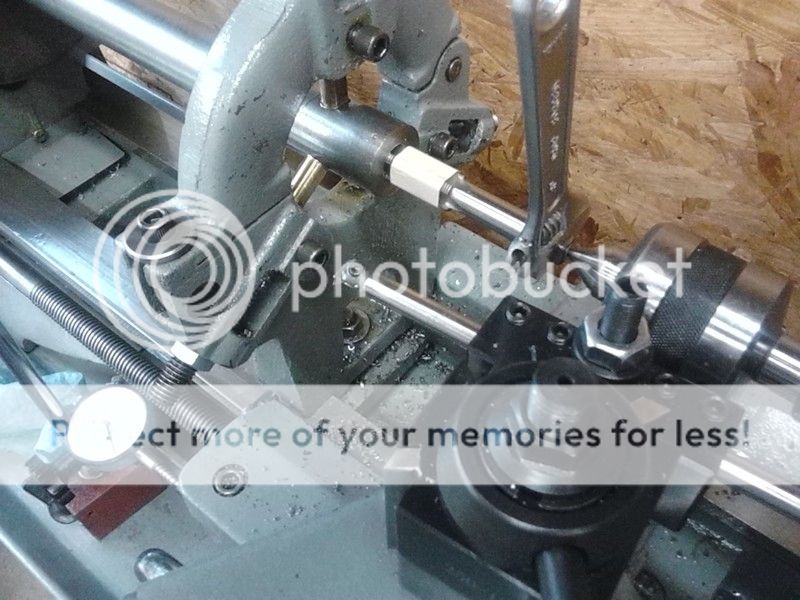


Next step was to chop it off and mount to the mandrel.



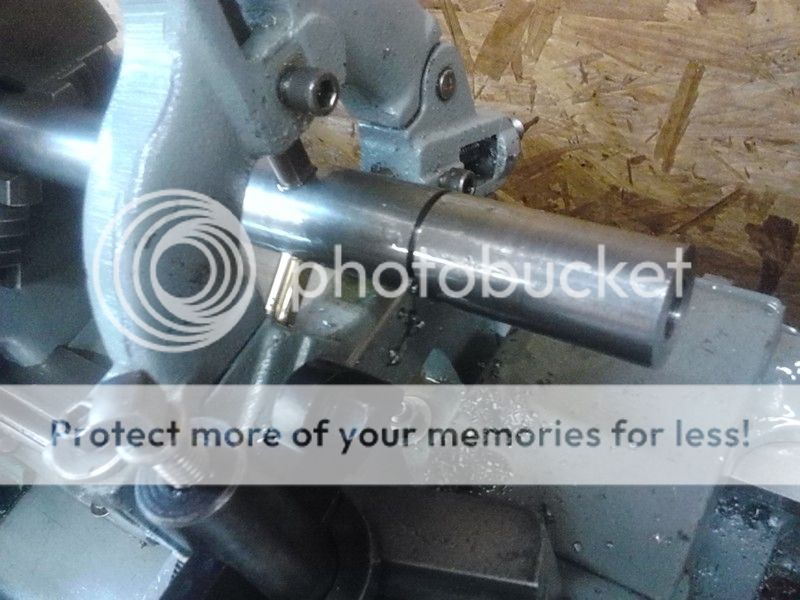
Just to make sure I popped it onto a section of barrel to make sure the threads and bore hole were aligned.


Looks good
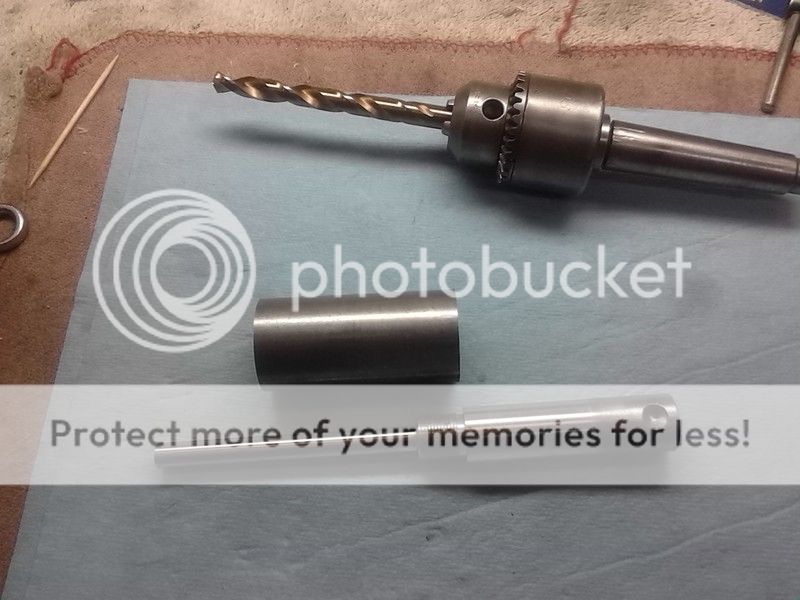


A sculpture says that his art is always there withing the rock . . . can you see a brake in that hunk of metal?
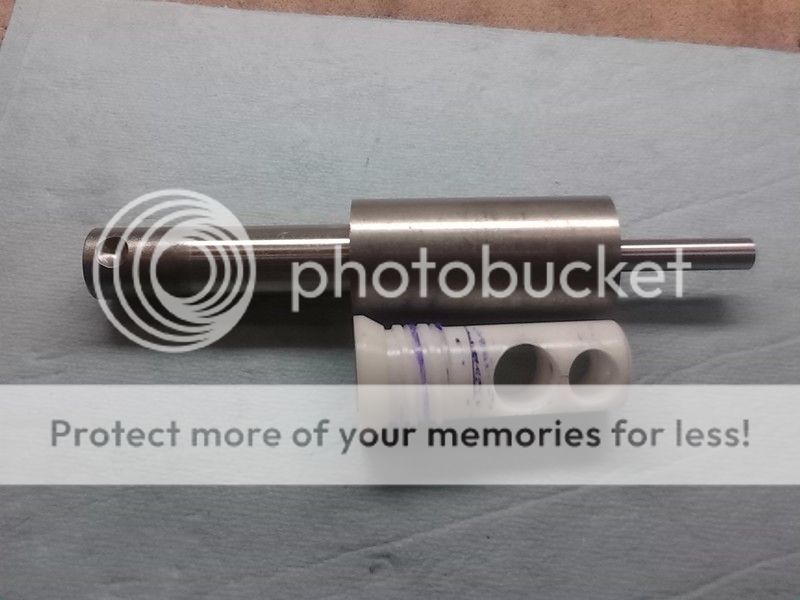

OK, mounted between centers using a lathe dog.



It's a little rough, but taking shape, kinda.
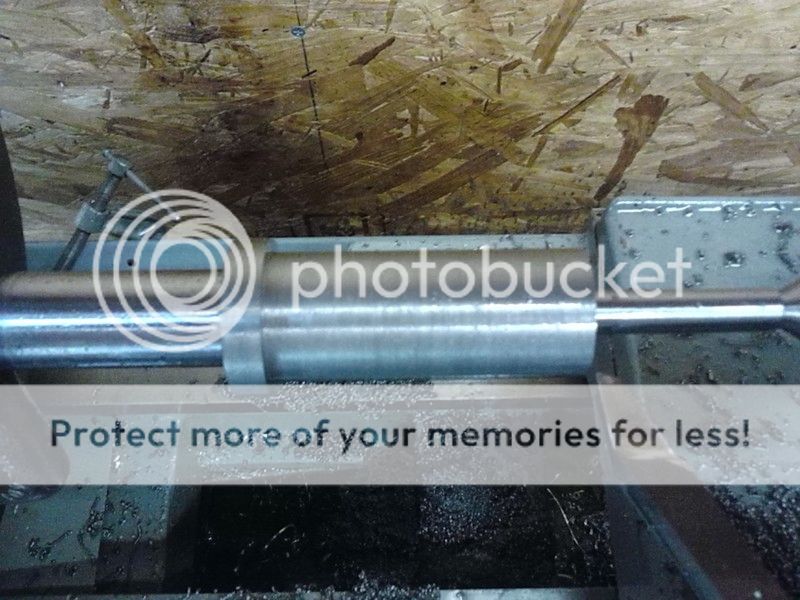


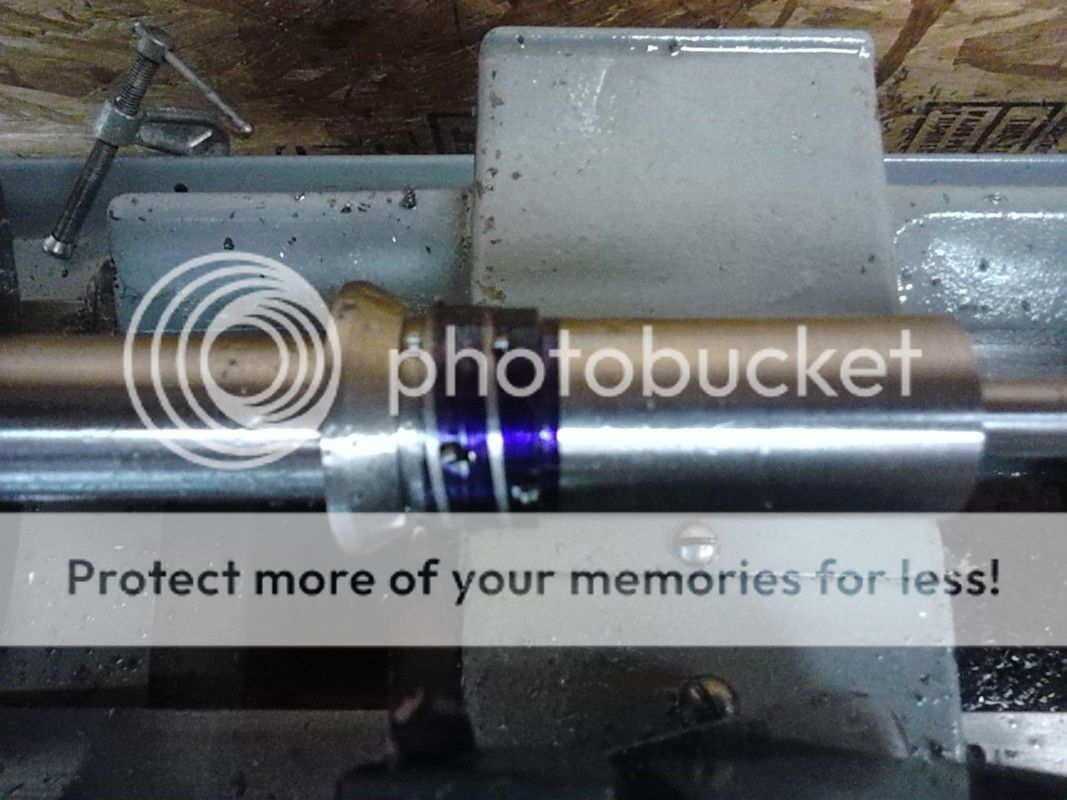
I missed a few pics here, sorry. This pic now has the 60* shoulder done and the thread relief cut. It also has the first pass of the first thread done. Oh yea, these threads are a bit special. It's a two start ACME stub thread Pitch-8 Lead-4. That means that I use a thread cutting tool for 8 TPI, but send the carriage down for cutting 4 TPI. And that looks like this.


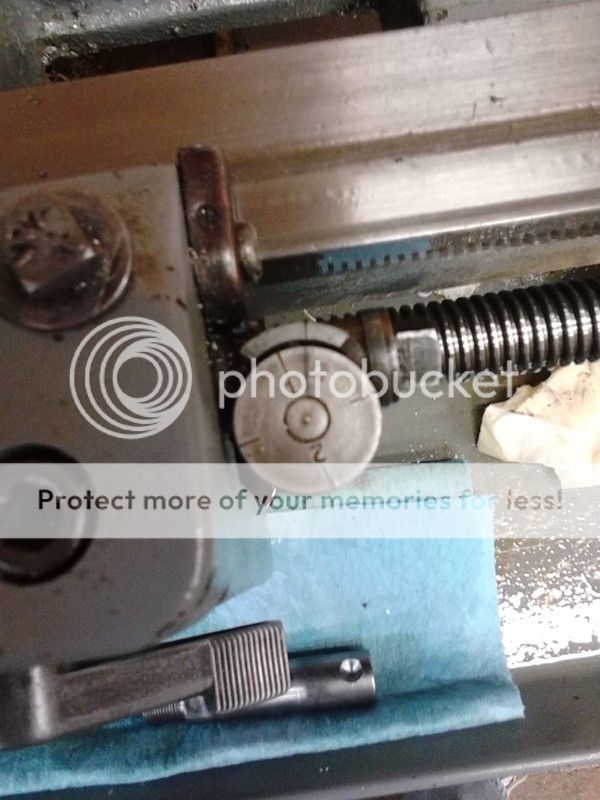
Now I get to cut the other thread that starts 180* opposite the first. I used the thread dial method to do this. The threading dial has 4 marks on it, but there are actually many points you can engage the carriage at. Here's my dial with the correct engagement point penciled in.


After the next pass. . .
 

L1A1Rocker

Active Member


A few more passes.


And done.


Please note in the pic above there are lines scribed. Before removing the peace from the lathe I marked the locations for all the holes I would need to drill/mill.


Here's another pic showing the scribed lines.


Time to move over to the mill.
 

Phil

Member
Exellent work. You sure do well with that lathe. Makes me want to do more with its brother in my shop.
 

Brad

Benevolent Overlord and site owner
Staff member
That is some nice work. Even the parkerzing is well done.

Now, when is that silencer gonna be done?
 

Ian

Notorious member
The two-start, 8-4 thread thing has my head spinning like and M. C. Escher painting. I've studied that part in person and still can't get my head wrapped around it. Excellent work there, Mr. "Hobbiest". Looks pretty pro to me, better than a lot of pro stuff because you make every thread match perfectly, no "production tolerances" at all.
 

smokeywolf

Well-Known Member
The only part of L1A1Rocker's machining that might be seen as hobby level are his lathe and mill. As a machinist, he's already a pro. Making professional level parts on smaller, less rigid iron takes a real machinist.

Here's a machining tip. When I have to single-point a thread up to a shoulder, if I have the luxury of having a thread relief immediately in front of that shoulder, I mount my single-point tool upside down in the tool holder, reverse my spindle rotation and starting from the thread relief in front of the shoulder, thread toward toward the tailstock, so I don't have to worry about accidentally overshooting my thread relief and running into the shoulder with the single-point tool.

Always, with the cutter or tool backed away from the workpiece, make sure that everything is spinning and traveling in the correct direction or orientation; basically, a dry run.
 

fiver

Well-Known Member
wait so I'm seeing 2 different threads turned on the outside?
hownell does it screw onto the barrel?
 

Brad

Benevolent Overlord and site owner
Staff member
No, it has an internal thread that goes onto the barrel. The 2 start thread is on the outside, it is what the silencer will attach to.
He made a threaded mandrel the piece was mounted on for turning. It has external threads identical to the end of the barrel. The part screws not the mandrel which is then centered and turned by the lathe, in turn rotating the part for machining.

Smokeywolf is right, this guy knows what he is doing. I bet he dreams in mechanical drawings and assemblies.
 

smokeywolf

Well-Known Member
fiver, the purpose of a double, triple or multiple start thread is so you can have a very fast thread without necessarily ending up with a course thread. Fast thread, but still with lots of thread engagement.
 

Ian

Notorious member
So it's two sets of threads with start points 180* apart, spiraling between each other. I can see it now, if ONE thread were colored it would appear as every other thread on the brake as viewed from the side. Getting that spacing exactly right between the two sets so they bear evenly had to be a nightmare.
 

L1A1Rocker

Active Member
Hey there folks, sorry I've been negligent in responding. I've stopped by a few times and read along but really didn't have time to type anything, till now. Thank you ALL for your comments, it's much appreciated.
 

L1A1Rocker

Active Member
Exellent work. You sure do well with that lathe. Makes me want to do more with its brother in my shop.
Thank you. It's amazing how often I wind up using the lathe for just small household projects. Once I even made a handle for my mothers antique icecream scooper when her handle broke. She was very happy because - They just don't make them like that anymore. LOL

I'd love to see you lathe if you have any pics. Does it have the quick change threading box?
 

L1A1Rocker

Active Member
That is some nice work. Even the parkerzing is well done.

Now, when is that silencer gonna be done?

Thank you. I have to give a lot of thanks to Ian for the park. He was over that day I was parkerizing a few things and that brake was being very difficult. Without him "sticking to it" I would likely have given up. Thanks again Ian!
 

L1A1Rocker

Active Member
The two-start, 8-4 thread thing has my head spinning like and M. C. Escher painting. I've studied that part in person and still can't get my head wrapped around it. Excellent work there, Mr. "Hobbiest". Looks pretty pro to me, better than a lot of pro stuff because you make every thread match perfectly, no "production tolerances" at all.

Thank you Smokey for explaining this much better than I did/could.
 

L1A1Rocker

Active Member
The only part of L1A1Rocker's machining that might be seen as hobby level are his lathe and mill. As a machinist, he's already a pro. Making professional level parts on smaller, less rigid iron takes a real machinist.

Here's a machining tip. When I have to single-point a thread up to a shoulder, if I have the luxury of having a thread relief immediately in front of that shoulder, I mount my single-point tool upside down in the tool holder, reverse my spindle rotation and starting from the thread relief in front of the shoulder, thread toward toward the tailstock, so I don't have to worry about accidentally overshooting my thread relief and running into the shoulder with the single-point tool.

Always, with the cutter or tool backed away from the workpiece, make sure that everything is spinning and traveling in the correct direction or orientation; basically, a dry run.

Thank you. Your words are most kind and generous.

I've read about that technique once before in dealing with the "crashing problem" I'm set up for running the carriage that fast. I was even gearing up to wire in a reversing switch when it dawned on me. . . The chuck (and all the other attachments that go on the headstock) screw on!!! Could you imagine being in the middle of this and having the chuck screw off??? :eek:

I've also read about people putting a big handle on the opposite end of the threw hole and turning the spindle by hand. I just can't bring myself into making that kind of mode to the lathe. Fortunately the back gears can gear the spindle down to just 28 RPM. You still have to watch close and be quick, but so far I've managed to be able to disengage the carriage in time. (crossing fingers)

Again, thank you for your kind words. Say, when you move back stateside - the Texas Hill Country is really nice. . . LOL
 

L1A1Rocker

Active Member
wait so I'm seeing 2 different threads turned on the outside?
hownell does it screw onto the barrel?
Sorry I didn't explain that well enough. As was posted, the peace screws onto a mandrel I made.

The first step was to do the internal stuff; bore the threw hole and thread it to go on the end of the barrel. (those are the set of pics with the tape on the tap).

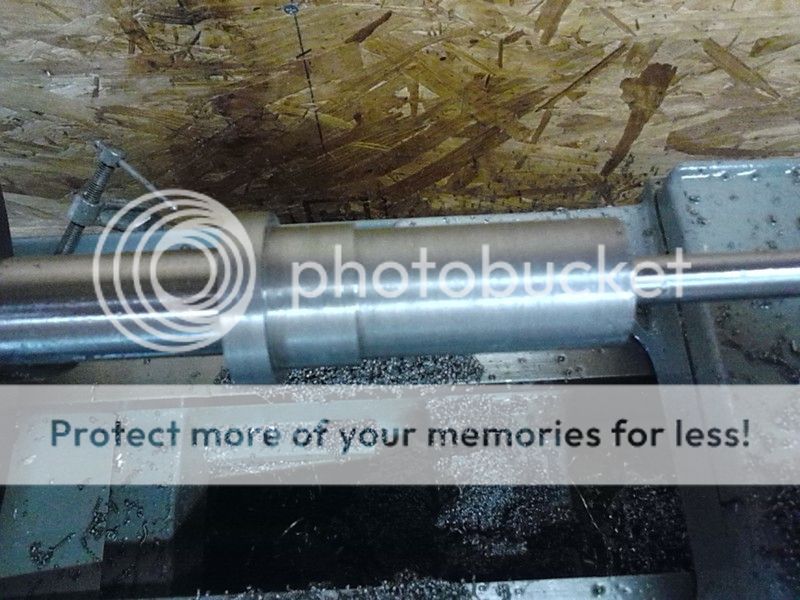
Here's the most relivent pic for your question. It shows the mandrel with the threads that the peace screws onto.


This mandrel is made to some pretty tight tolerances so that the peace is very secure when carving it out of the round stock. It has 60* holes center bored on either end and is put into the lathe between centers. Then a lathe dog is attached to spin it.

The rest was explained much better than me by Smokey.

I hope that answer's your question. If not please let me know. :)
 

L1A1Rocker

Active Member
No, it has an internal thread that goes onto the barrel. The 2 start thread is on the outside, it is what the silencer will attach to.
He made a threaded mandrel the piece was mounted on for turning. It has external threads identical to the end of the barrel. The part screws not the mandrel which is then centered and turned by the lathe, in turn rotating the part for machining.

Smokeywolf is right, this guy knows what he is doing. I bet he dreams in mechanical drawings and assemblies.

Thanks for the explanation. And thank you for the kind words. But really I have normal dreams - thousands of scantly clad women screaming and throwing little hot dogs at me. (who knows that movie reference?)

Seriously, thank you.