
You are using an out of date browser. It may not display this or other websites correctly.
You should upgrade or use an alternative browser.
You should upgrade or use an alternative browser.
Mauser VZ24 project: 22-250 to 358 Win ...
- Thread starter wquiles
- Start date
wquiles
Well-Known Member
LOL. Yup, pretty much the same on my side. A lot of guessing, experimenting, trying things out. BUT I learn something each time on these projects, and I then get a little more adventurous on the next one, and the process repeats. Anyone looking at my photos says "wow", but they don't get to see the last 10+ years of stuff that what didn't work ")
wquiles
Well-Known Member
Got the pieces back from JES today. Not the "rifle" since he left disassembled for me to finish and pin the suppressor mount to the barrel. But he was nice enough to index the barrel and receiver at the bottom (not visible) so that I can go back to the correct head-space position
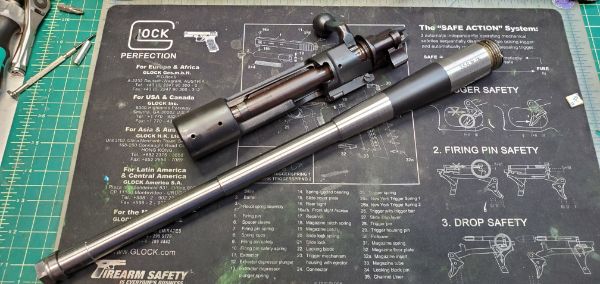
caliber:
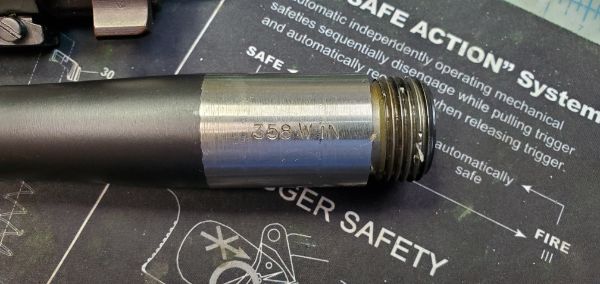
twist, index point for headspacing, and his initials:
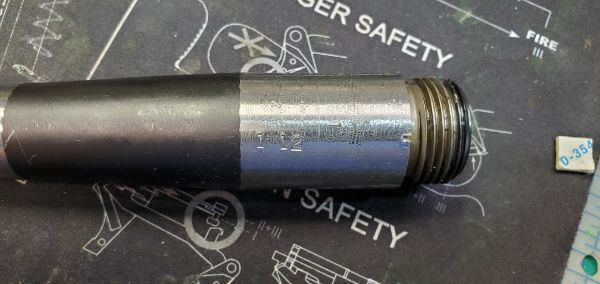
I first plan on permanently attaching the taper suppression mount (to make the barrel legal), and then I plan on removing the bluing left on the barrel, and give it a coat using Moly Resin - the shade will not match the receiver/bolt, but it will be even on the barrel
I will post more pictures as I make more progress
Will
caliber:
twist, index point for headspacing, and his initials:
I first plan on permanently attaching the taper suppression mount (to make the barrel legal), and then I plan on removing the bluing left on the barrel, and give it a coat using Moly Resin - the shade will not match the receiver/bolt, but it will be even on the barrel
I will post more pictures as I make more progress
Will
wquiles
Well-Known Member
I don't know about you guys, but I always seem to have far more projects, honey-do's, and errands to run than I have time. I sold my 2002 Suburban (2WD) with 232K miles for a newer used 2010 4Runner 4x4 (171K miles) - will be my next camping platform for scouts. Was in great shape, but needed new shocks so I have been putting the .358 project on hold to get the shocks replaced:

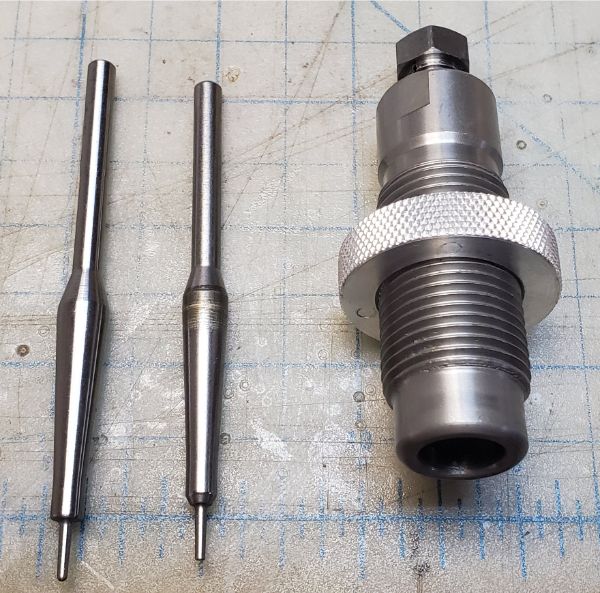
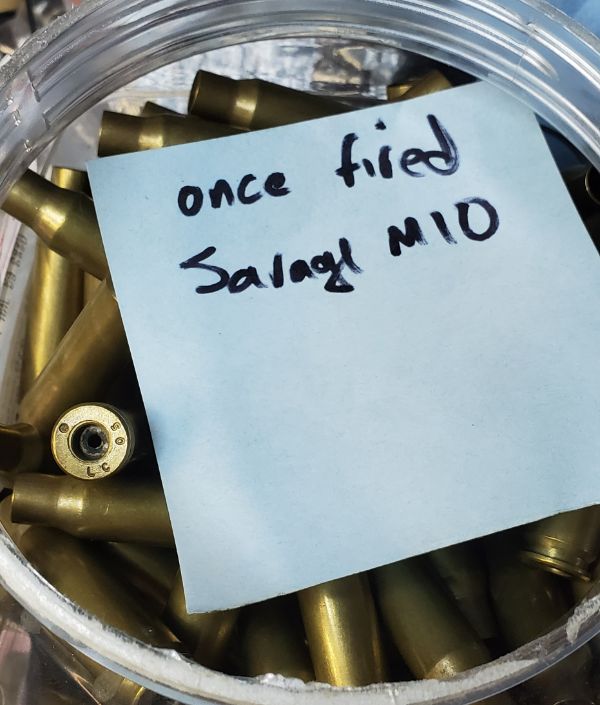
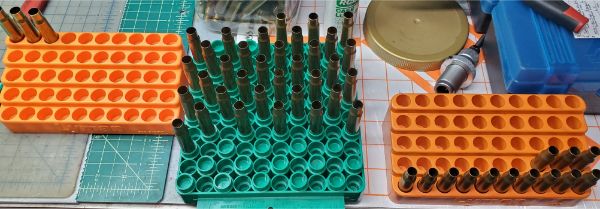
At any rate, I wanted to at least do "some" work on this project this weekend, so I converted some 308 LC brass to 358 Win. Although many/most do the re-sizing in one step, I decided to use an 338 expander in an 308 full sizing die (stock .308 expander on the right):
Donor brass:
Lubing pad - qtip is for light inside lubing:

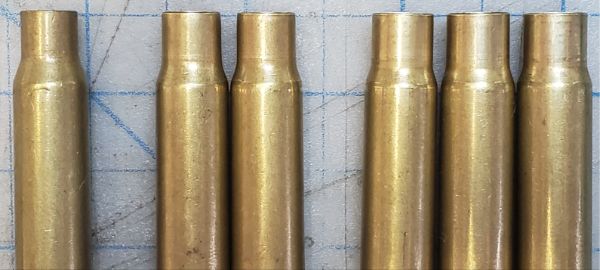
Left is unsized 308 - middle two have been sized 308, but using the 338 expander, right-most three are finished, after being sized with the factory 358 full sizing die:
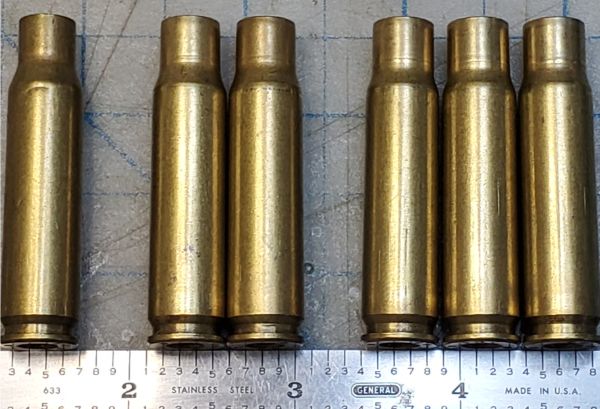
As expected, the fully sized 358 is a hair shorter than the 308 brass:
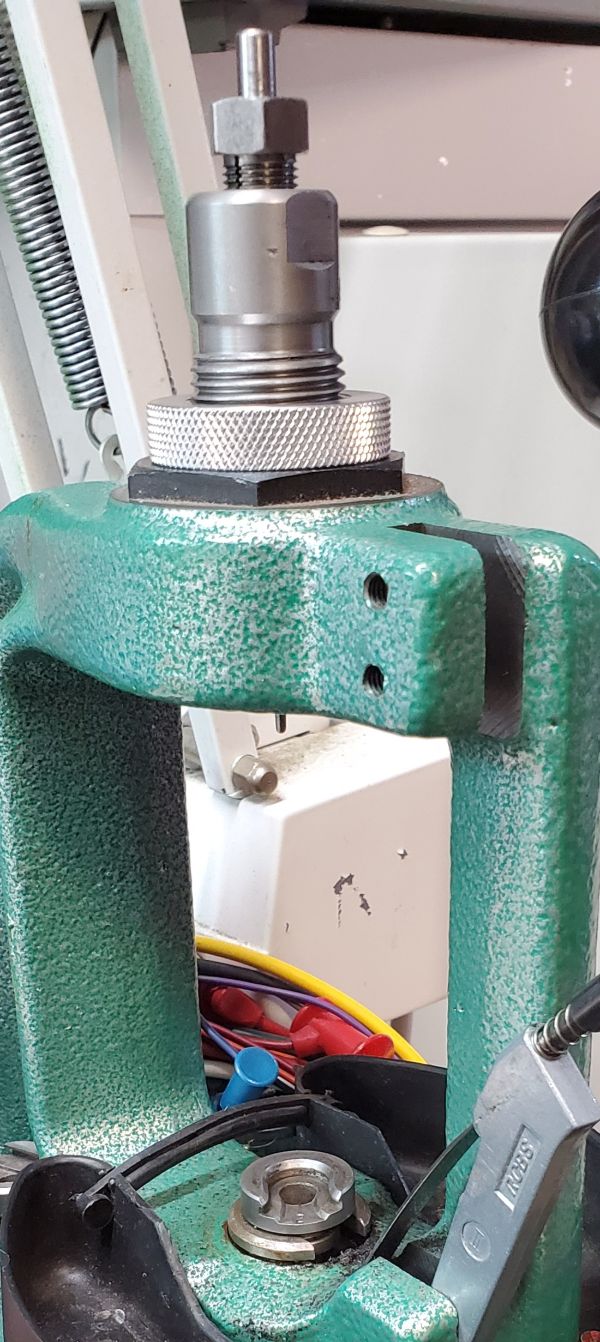
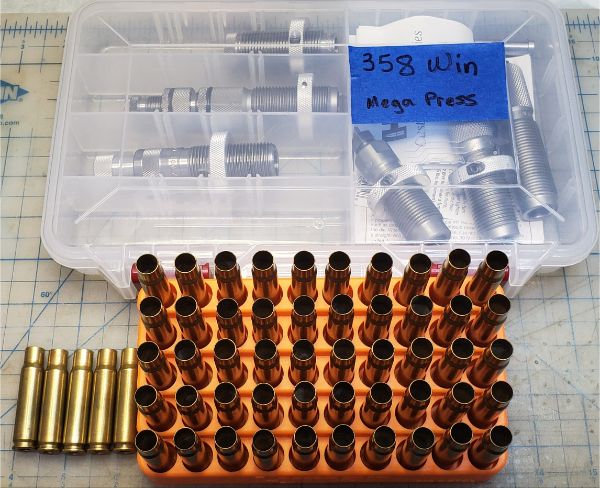
Since there is zero feel in the Mega Press, I did everything on my Rock Chucker, so that I can feel the full swing and "cam" at the end of the stroke. (making my own single-stage mechanical/linking press is a pending future project of mine as I don't like the slop in the RCBS):
Going right to left:
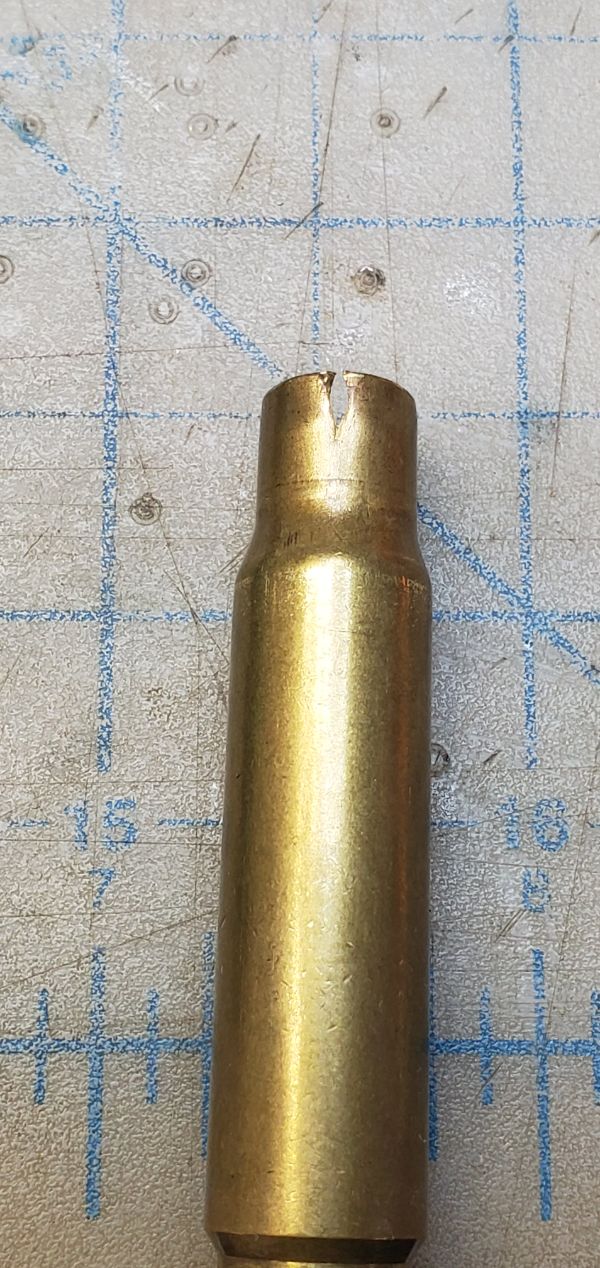
I lost only one case:
All done for today. First batch of 50, plus 5 extra ones for dummy rounds/etc. I will probably do at least one more batch of 50 next weekend:
At any rate, I wanted to at least do "some" work on this project this weekend, so I converted some 308 LC brass to 358 Win. Although many/most do the re-sizing in one step, I decided to use an 338 expander in an 308 full sizing die (stock .308 expander on the right):
Donor brass:
Lubing pad - qtip is for light inside lubing:
Left is unsized 308 - middle two have been sized 308, but using the 338 expander, right-most three are finished, after being sized with the factory 358 full sizing die:
As expected, the fully sized 358 is a hair shorter than the 308 brass:
Since there is zero feel in the Mega Press, I did everything on my Rock Chucker, so that I can feel the full swing and "cam" at the end of the stroke. (making my own single-stage mechanical/linking press is a pending future project of mine as I don't like the slop in the RCBS):
Going right to left:
I lost only one case:
All done for today. First batch of 50, plus 5 extra ones for dummy rounds/etc. I will probably do at least one more batch of 50 next weekend:
Last edited:
wquiles
Well-Known Member
Ok, with the shocks done on the used 4Runner, I can work on the Mauser.
This is the before shot, the crown that Jessy cut on my barrel:

Nothing wrong with it, but since I am about to weld the suppressor mount and I will not have access to it in the future, I decided to do some light polishing:

Here is the "after" picture:

Index the suppressor mount before welding in place:

This is the before shot, the crown that Jessy cut on my barrel:
Nothing wrong with it, but since I am about to weld the suppressor mount and I will not have access to it in the future, I decided to do some light polishing:
Here is the "after" picture:
Index the suppressor mount before welding in place:
wquiles
Well-Known Member
After welding in place, the barrel is a very legal 16+ inches long:

WIth the Titanium form 1 suppressor, about 23.5" long (this is why I wanted the barrel as freaking short as I could!):


I am going to work next on some light sand blasting to remove the remaining bluing, and give the whole barrel/thread adapter a similar finish before working on the Moly Resin - I even have the right silicon insert to keep anything/everything from the chamber side (you can see here some left over marks from when Jessy worked on my barrel):

WIth the Titanium form 1 suppressor, about 23.5" long (this is why I wanted the barrel as freaking short as I could!):
I am going to work next on some light sand blasting to remove the remaining bluing, and give the whole barrel/thread adapter a similar finish before working on the Moly Resin - I even have the right silicon insert to keep anything/everything from the chamber side (you can see here some left over marks from when Jessy worked on my barrel):


wquiles
Well-Known Member
Brad, I used Moly Resin - been using it for years. This particular color was Semi-Gloss Black.
At a high-level, it is similar to Cerakote, but easier to use and apply, and clean-up. Also thermally cured:
https://molyresin.com/
https://molyresin.com/moly-resin-application-instructions/
At a high-level, it is similar to Cerakote, but easier to use and apply, and clean-up. Also thermally cured:
https://molyresin.com/
https://molyresin.com/moly-resin-application-instructions/
wquiles
Well-Known Member
Thank you for your kind words. I will take additional pictures with natural light tomorrow. Although the finish (specially in the barrel) was not as smooth/even as I hoped, it looks better than the high-glare pictures I took today.
This is the Air-brush I use to apply Moly Resin:
Badger Air-Brush - Universal
This is the Air-brush I use to apply Moly Resin:
Badger Air-Brush - Universal